Geekcreit Transistor Tester Review
A couple of people in the amateur radio world had separately recommended to me the cheap ‘transistor tester’ kits available from Chinese online stores, so I decided to pick one up. A transistor tester tool identifies and tests transistors (and, despite the name, other components such as capacitors and resistors) and is a handy bit of kit to keep around when working on electronics projects.
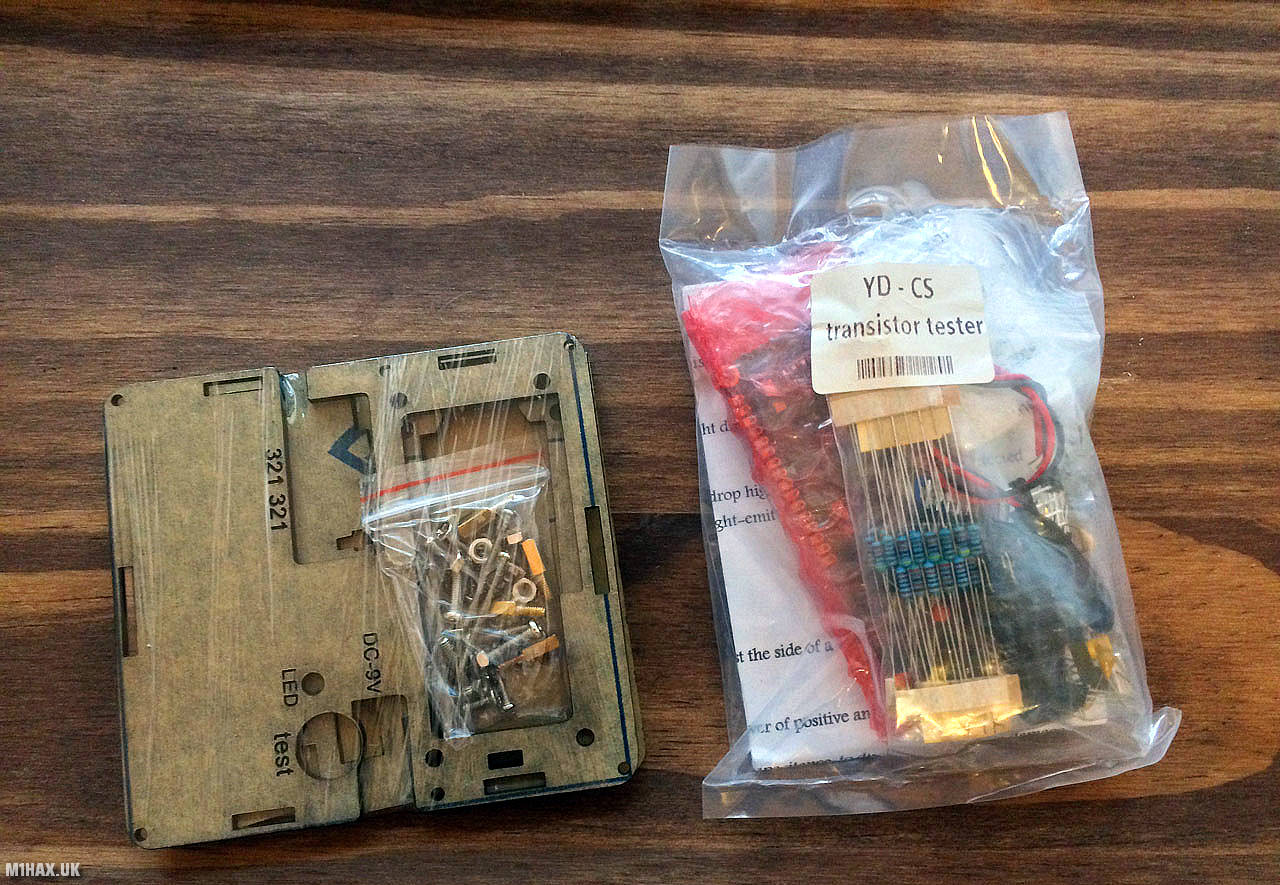
The tester I bought was the YD CS transistor tester by Geekcreit, which comes as an unassembled kit, including case, for around £7.50. There are a few variations available including more expensive testers with graphical displays and pre-assembled kits. This Geekcreit model was one of the more popular versions on the Banggood site and wasn’t very expensive.

The kit took a couple of weeks to arrive from China and arrived bagged up as shown above. In addition to the electronic parts, a laser cut acrylic enclosure is included which is available in black, white or transparent.

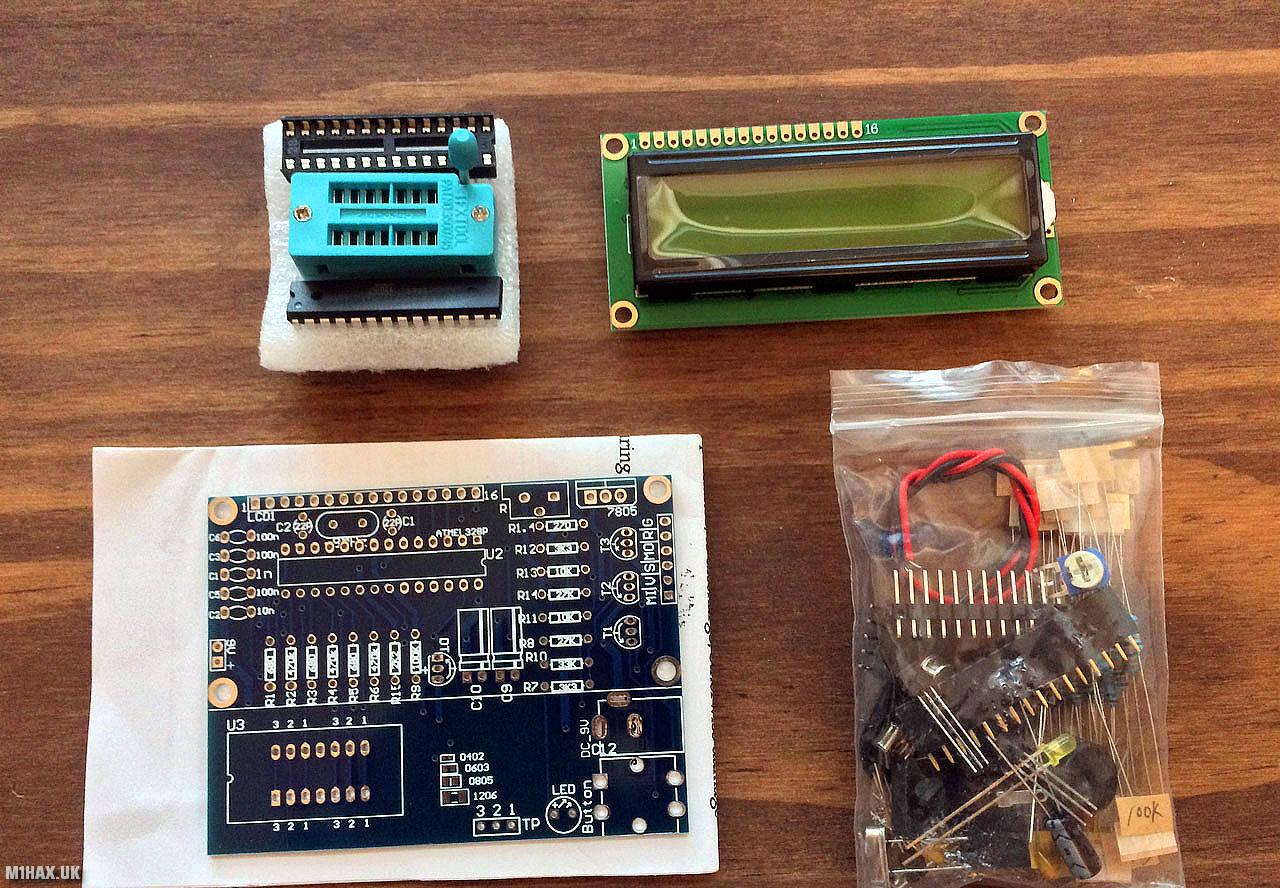
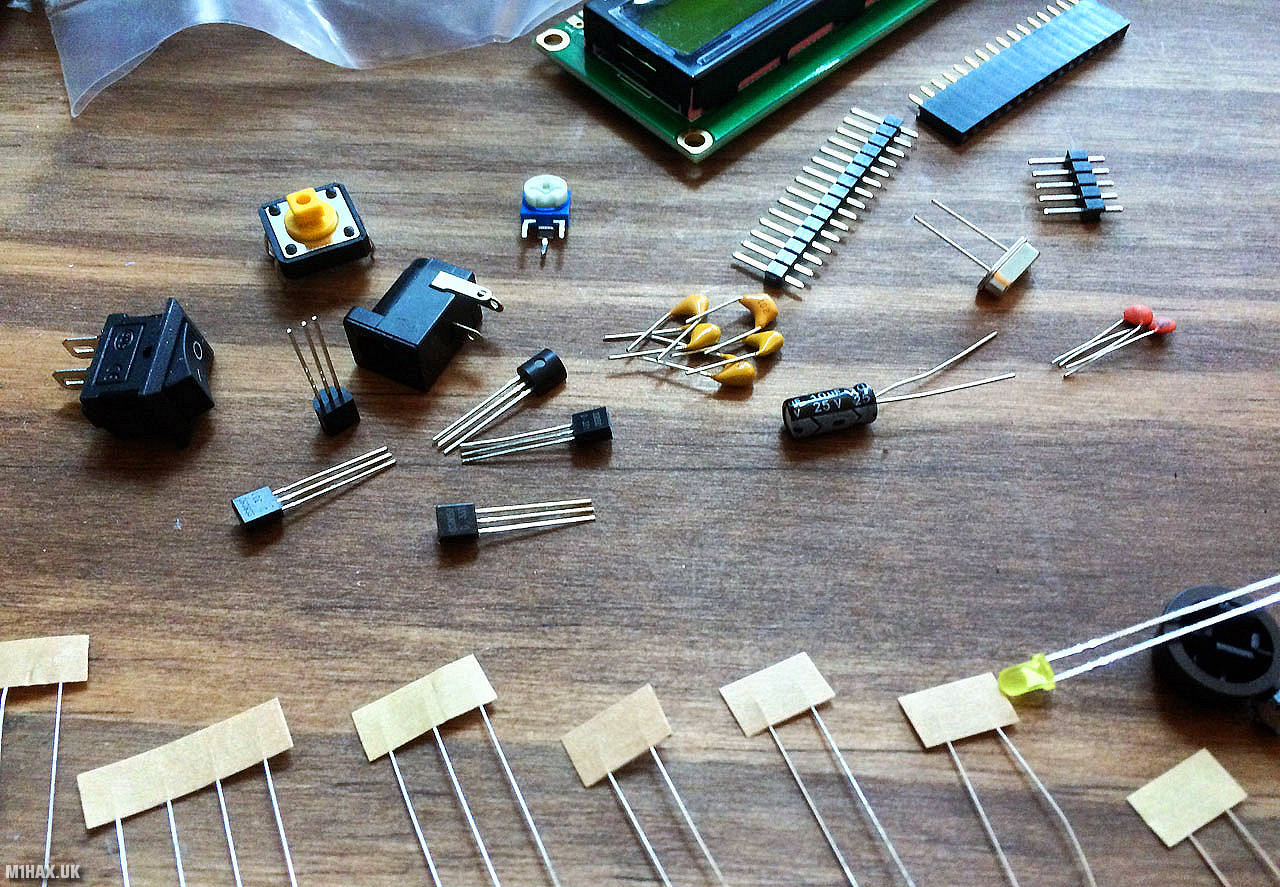
This transistor tester kit needs to be soldered together from discrete parts. A garden-variety 16x2 green LCD, pre-programmed Atmel microcontroller and unbranded ZIF socket complement the PCB and the various passive components that make up the kit.
The tester is powered either by an internal 9V PP3 size battery or via external power supply.

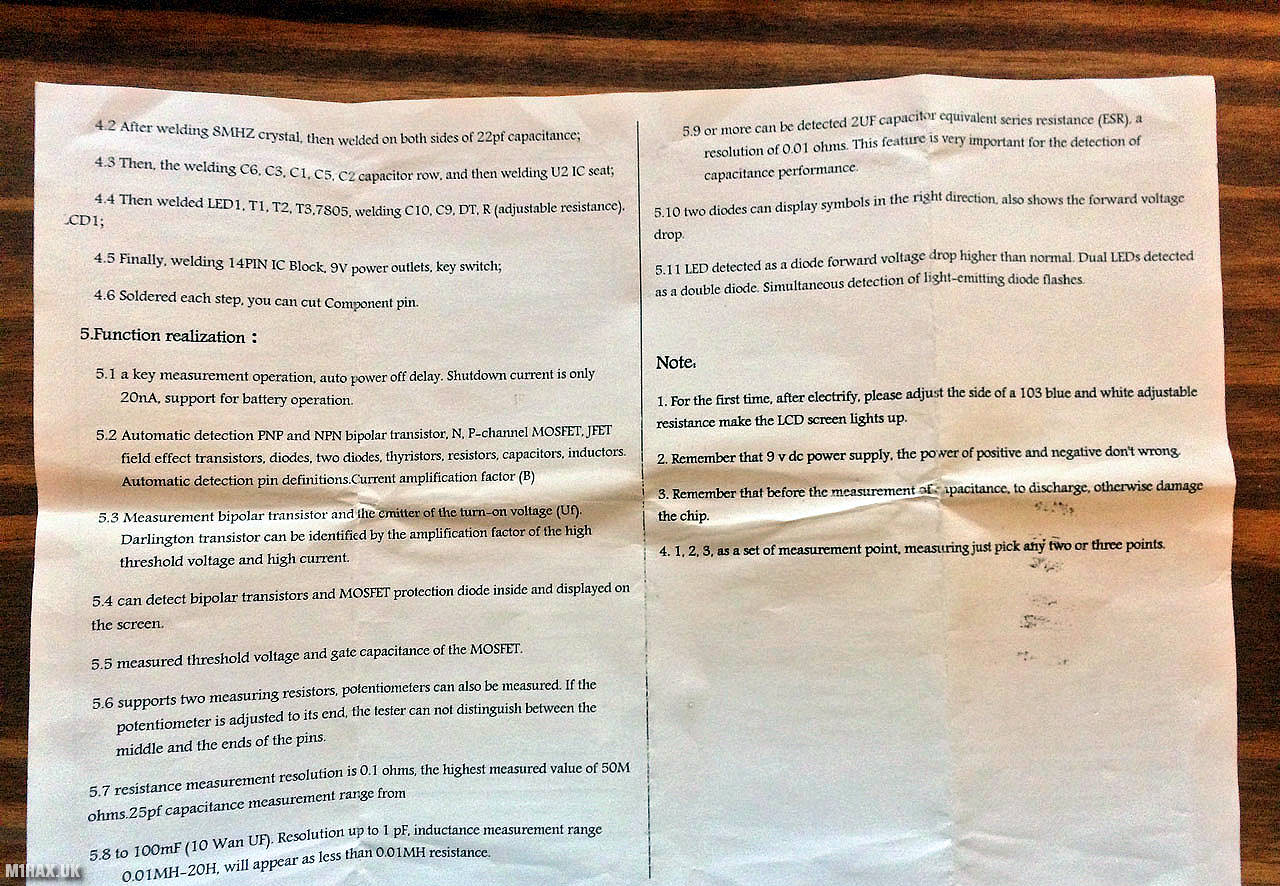
The included instructions sheet attempts to cover assembly and usage, but is poorly written (translated) and difficult to understand. It’s a relatively simple assembly project though, so wasn’t much of a problem.

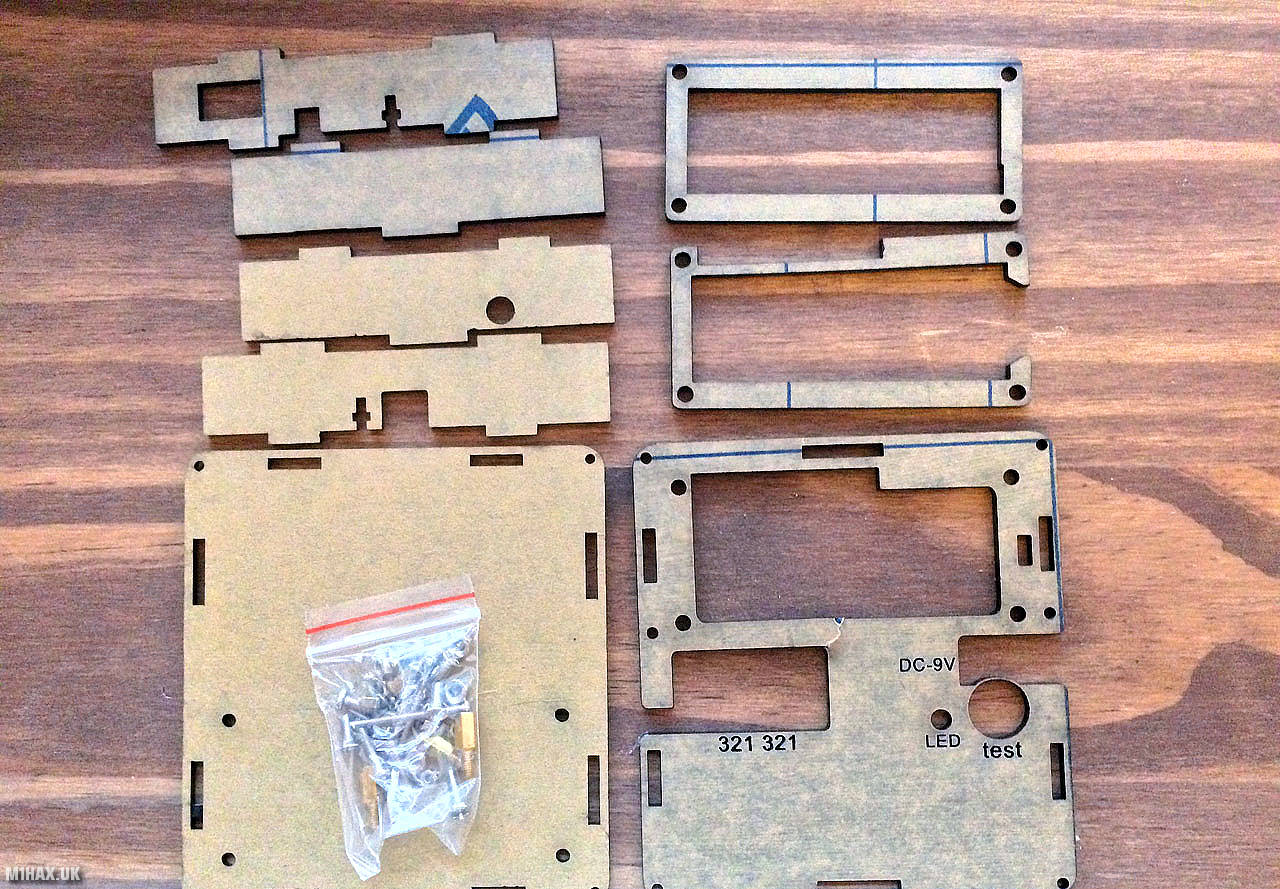
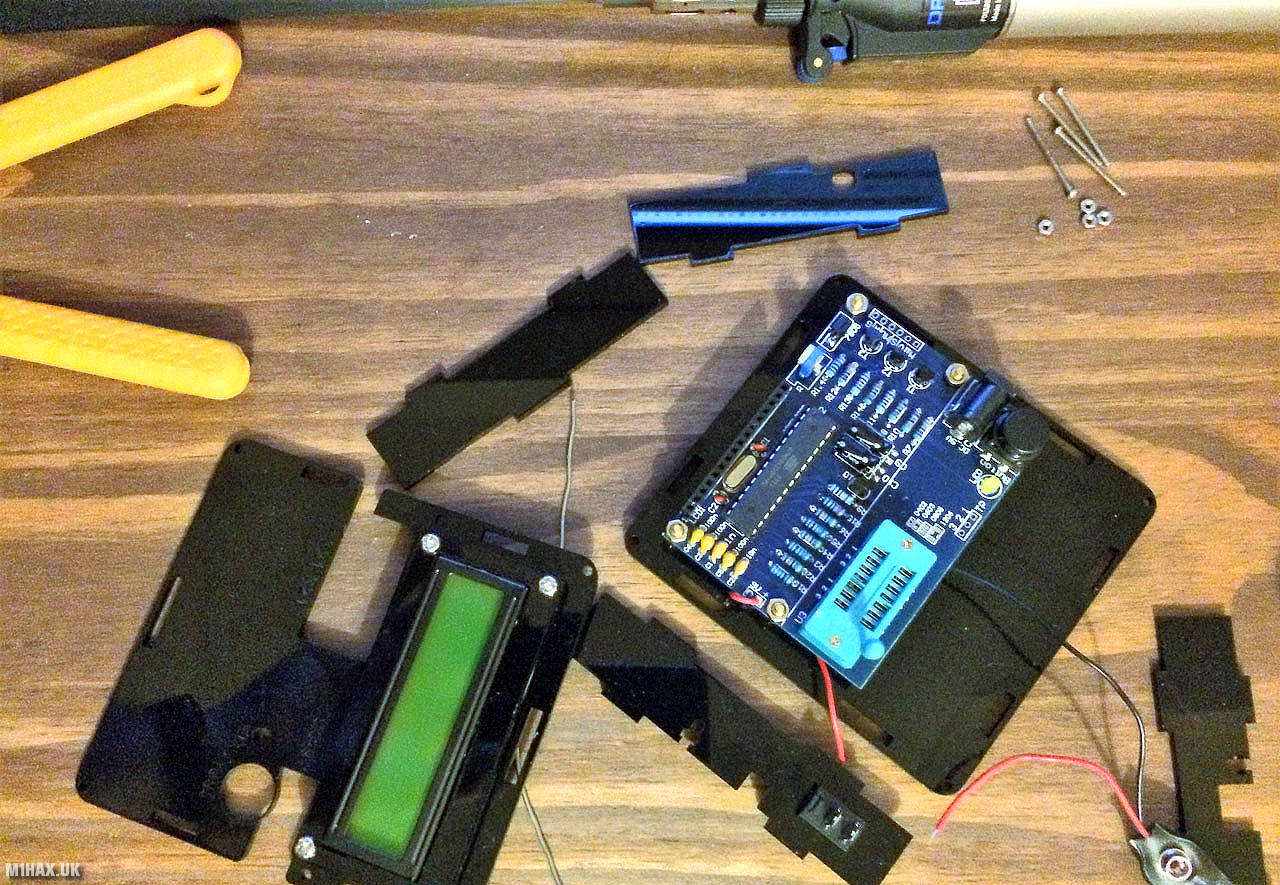
The photo above shows the individual pieces of the acrylic case, still covered in a protective self-adhesive backing paper. Unfortunately the front panel of my case was damaged during shipping and was cracked around the screen cut-out.

My kit included all of the transistors, resistors, etc. required for assembly (but no spare parts).

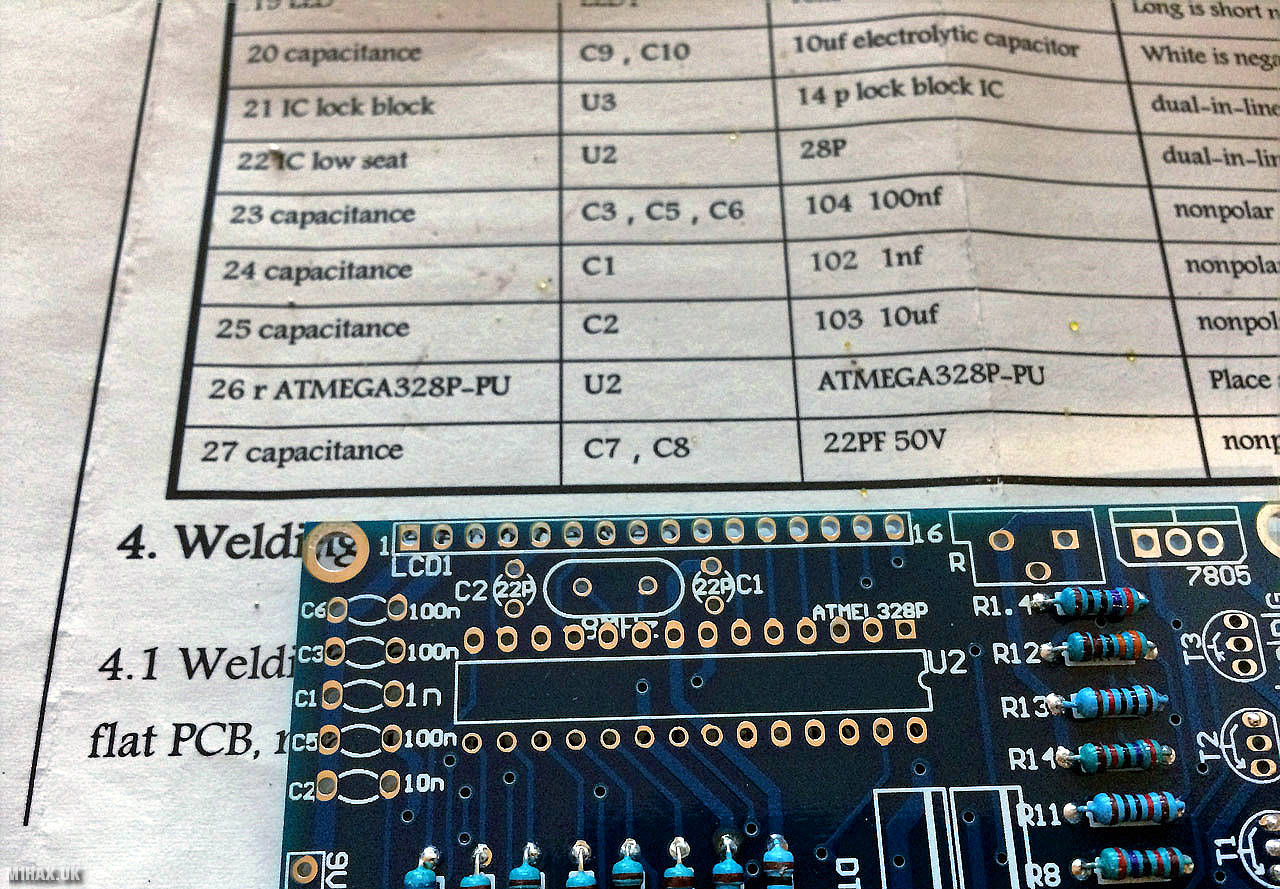
There were some discrepancies with the printed instruction’s bill of materials and the PCB’s silk screening (e.g., there are two different components on the PCB both labelled C2).

It only took about half an hour to leisurely solder the PCB – like the signal generator I made for my RSGB Intermediate ham radio licence exam, this little kit makes a good ‘first soldering project’ kit (aforementioned silkscreen errors aside).

The laser cut acrylic case was pretty good, the instructions don’t explain how to build it, but it’s easy enough to work out.

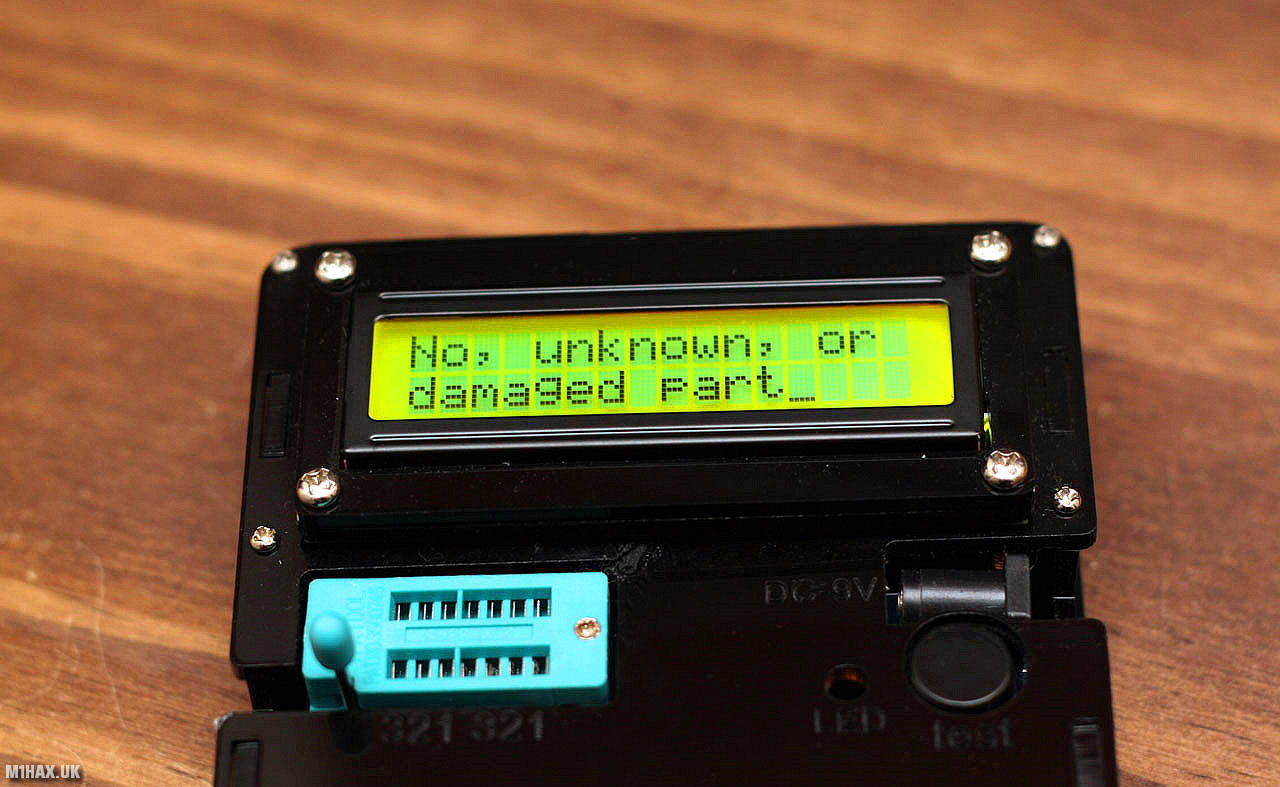
It’s always a relief when turning on a new kit built circuit for the first time and it working rather than releasing its magic smoke!

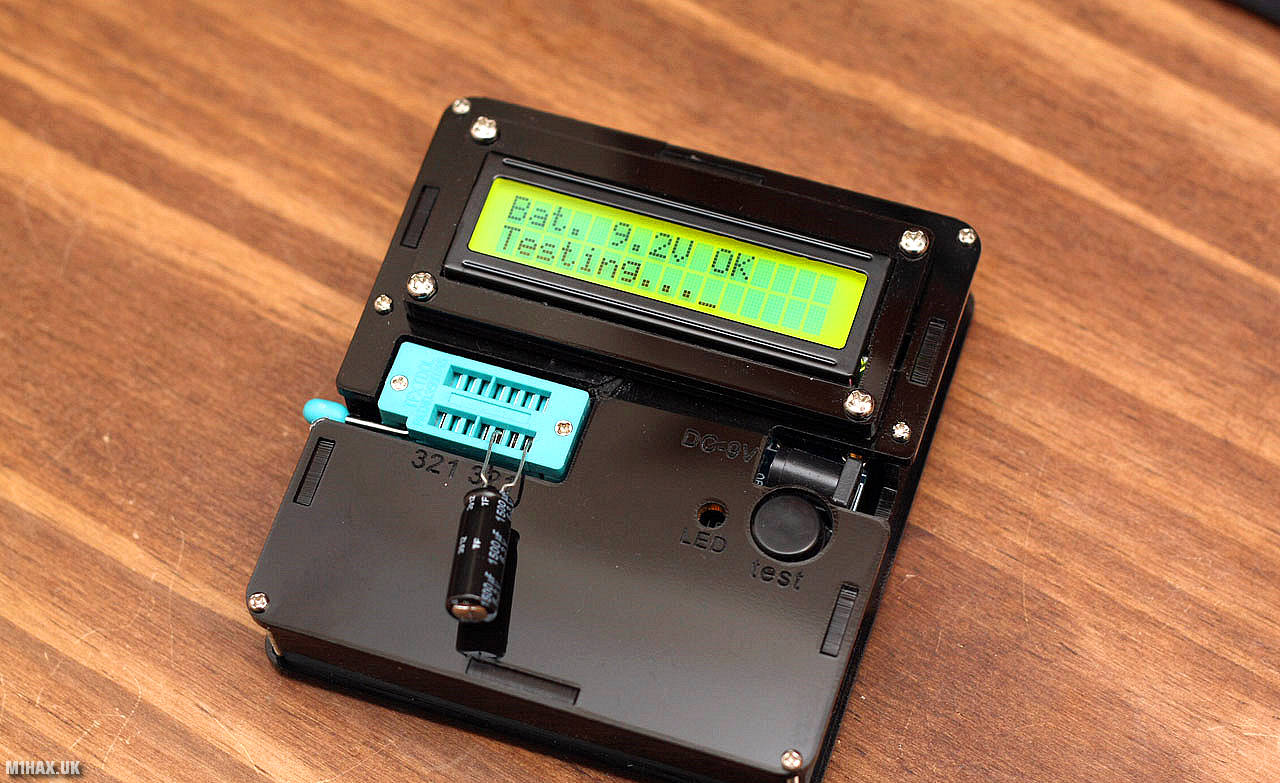
After pressing the test button, this ‘please wait’ screen is briefly displayed.

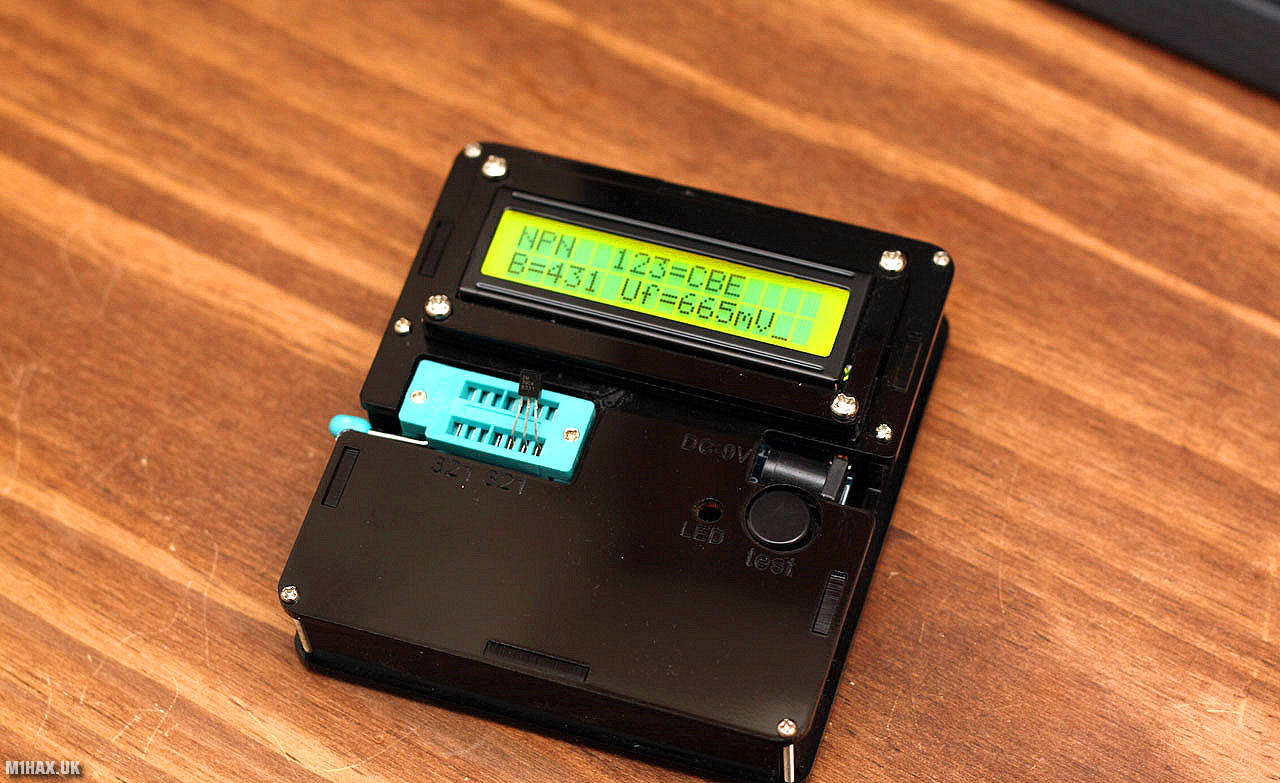
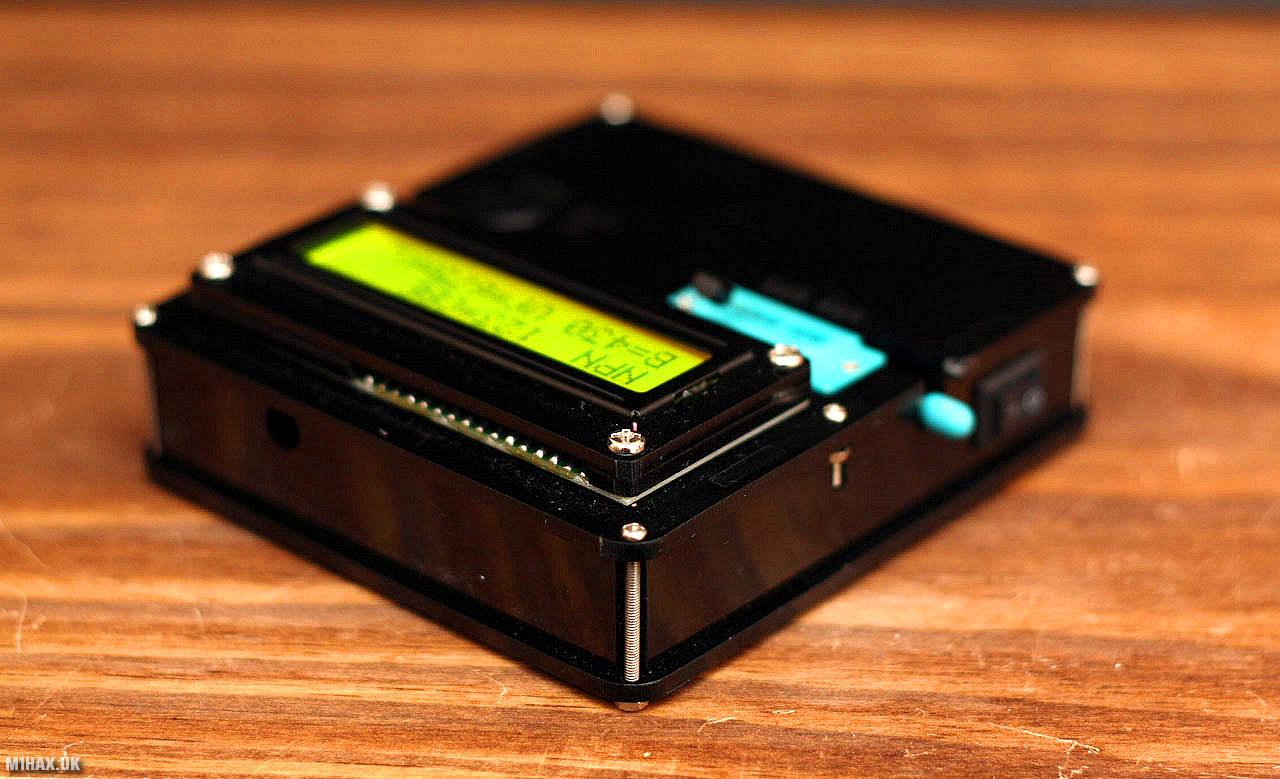
To test ‘unknown’ components, they are inserted in to the ZIF socket and then the test button is pressed. Here a transistor is being tested and the display is showing which pins are the collector, base and emitter, the forward voltage drop (between base and emitter) and the beta value.

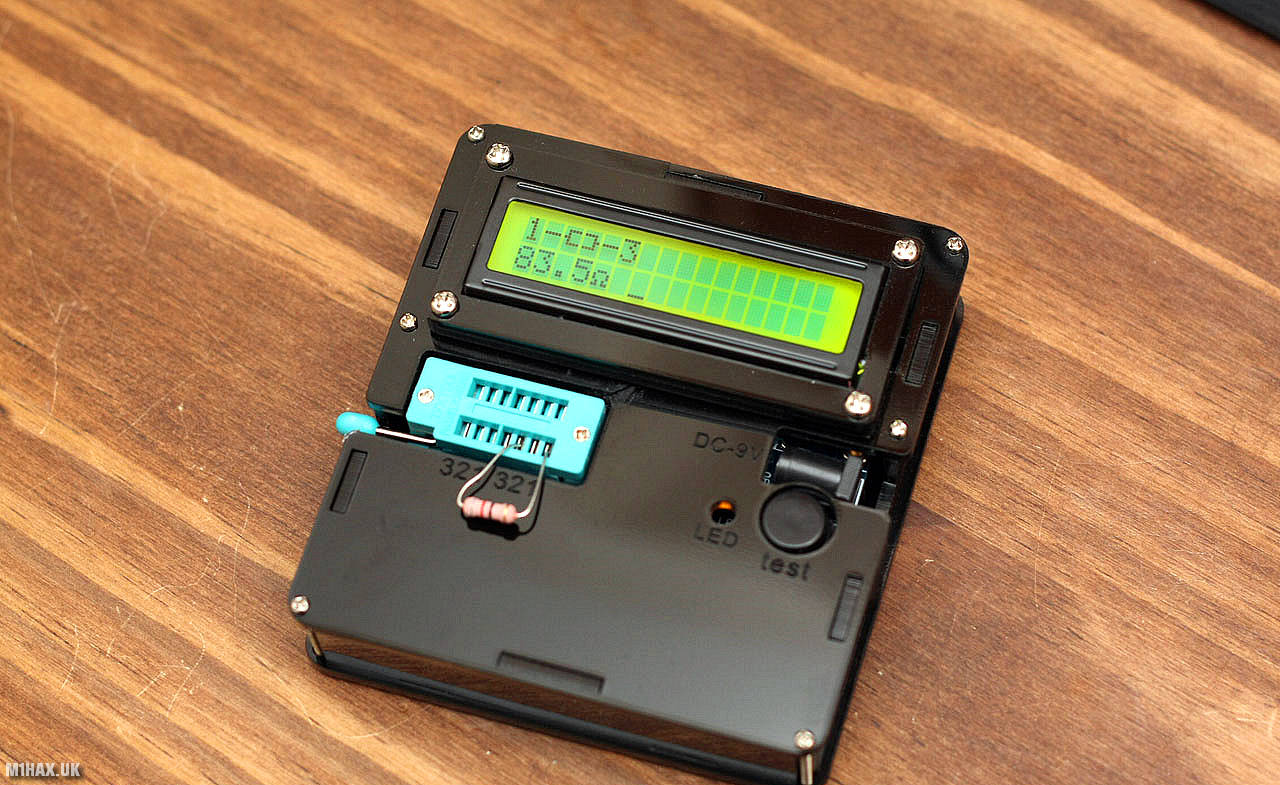
Resistors can also be tested with the tool, resulting in a readout like the one shown above.

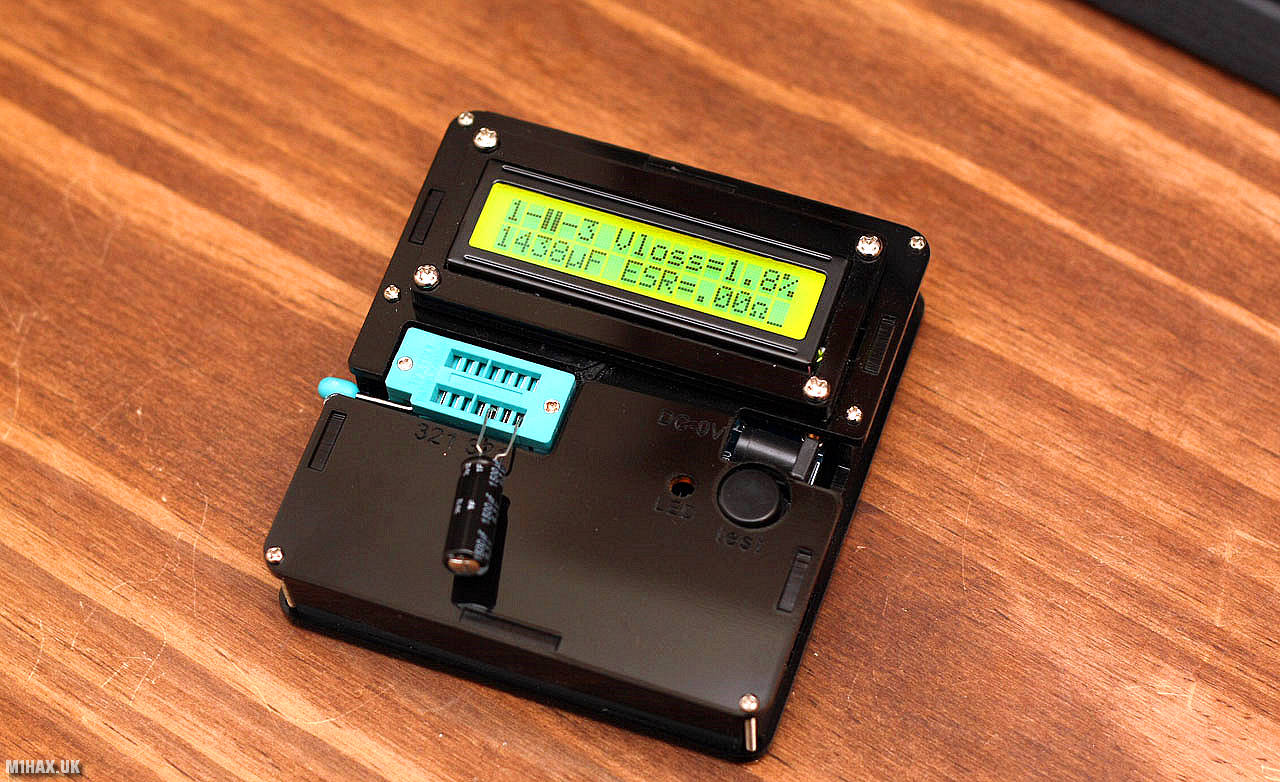
Capacitors can be tested and the device measures the ESR value in addition to the capacitance rating.

The left side of the unit has the on/off switch.

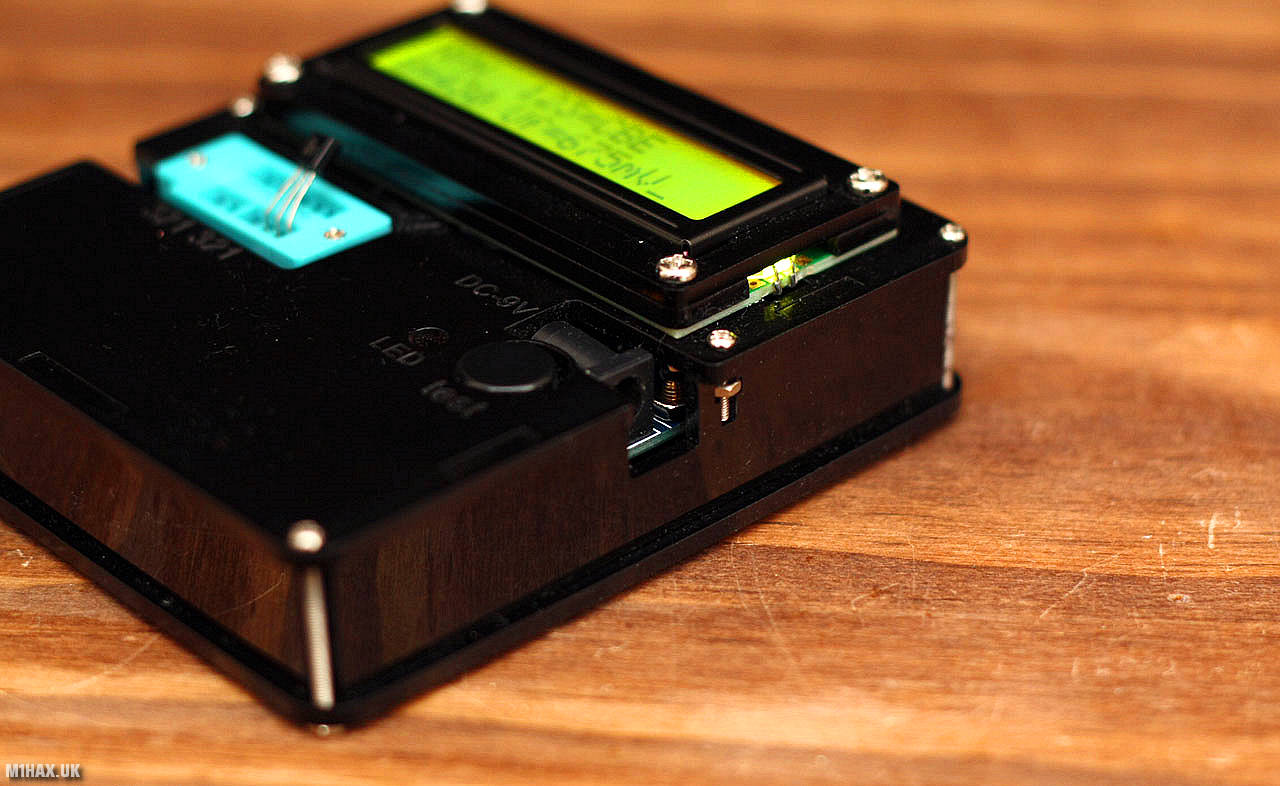
While the right side of the unit has the DC power supply barrel jack connector.
The instructions don’t state what voltage should be used, but it’s bound to be 9v. Presumably the internal battery needs to be disconnected before using an external power supply.

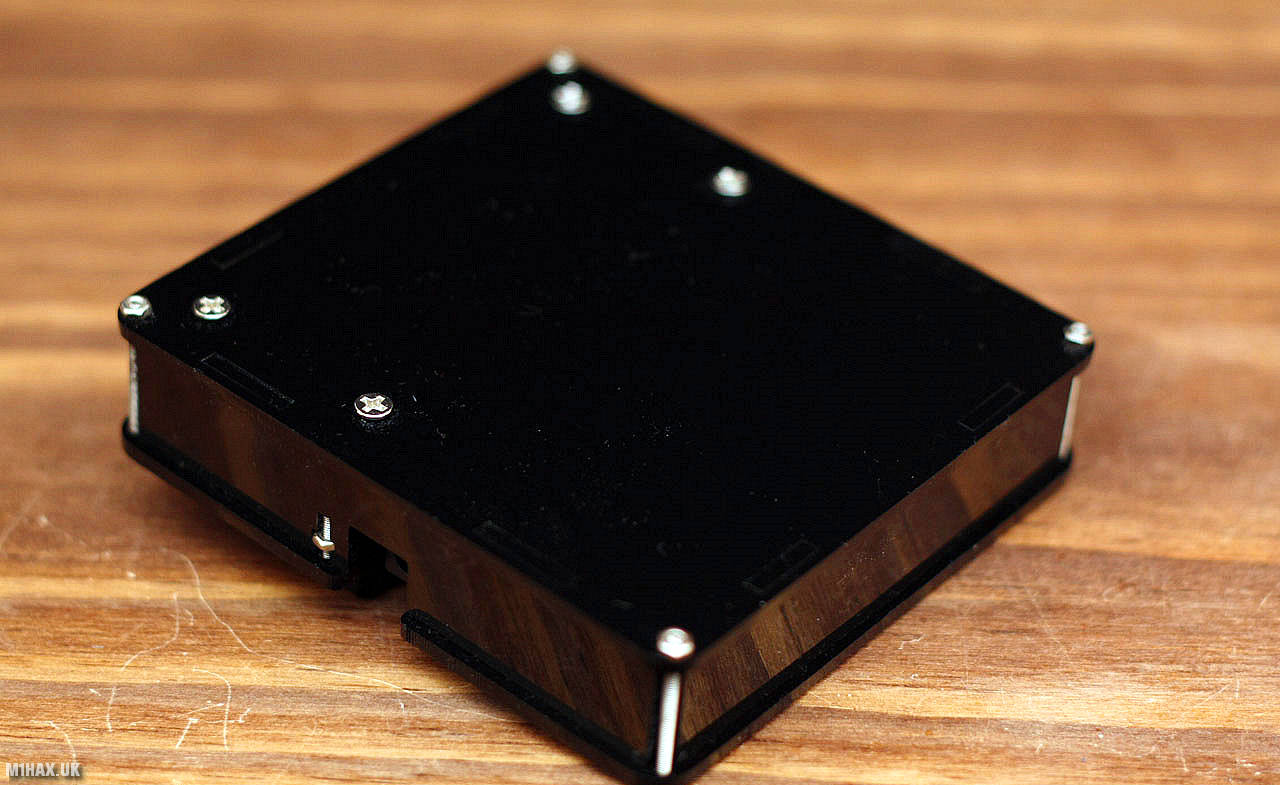
There’s nothing much going on with the rear panel of the unit.
I’ve used this a few times now while repairing or building electronics and it has already ‘paid for itself’. It was particularly useful when replacing old electrolytic capacitors on a vintage PC motherboard I was refurbishing. For such a low price this is a gadget well worth having around if you are in to hobby electronics. It is available from a number of suppliers from eBay or AliExpress.
If you found this content valuable, why not Buy Me a Coffee?