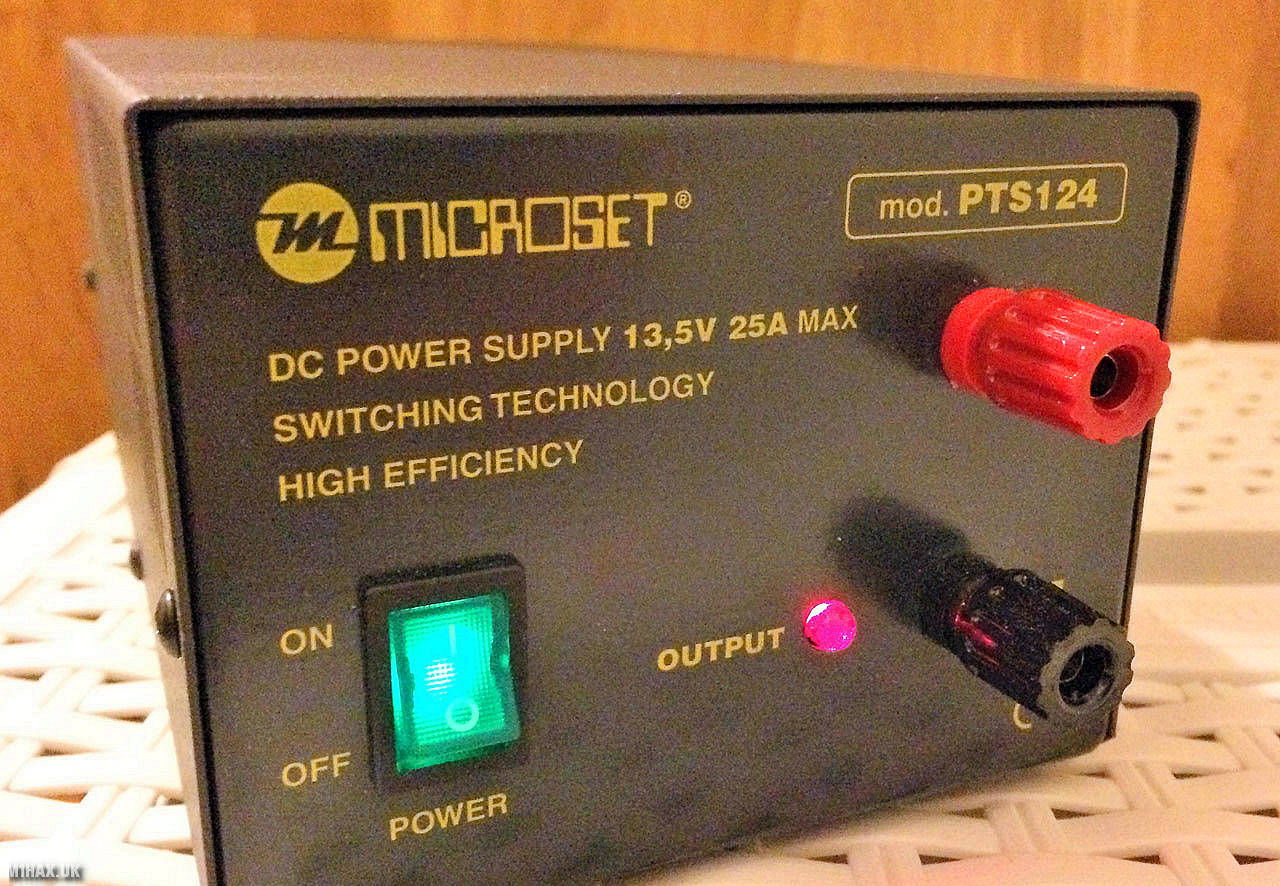
Microset PTS124 PSU Noisy Fan Replacement
In my radio shack I use a Microset PTS124 13.5v power supply for powering most of my radio equipment. It’s a decent switch mode unit which has been serving me well except for one problem - the cooling fan is really loud. In a quiet room I have been finding it quite distracting so decided to replace the fan with something quieter. As there wasn’t anything on the web about this particular PSU I am publishing some information on how I did this.
Safety Warning: This article describes electrical modifications to a mains powered appliance which will retain a potentially lethal electrical charge even after being disconnected. Do not attempt to reproduce the modifications described in this article unless you are suitably competent!
The Microset PTS124 has a metal chassis which can be opened by removing the six small screws on the sides of the unit. Opening up the power supply reveals a SUNON brand 60mm 12 volt fan (part number EB60251S1-000U-999) which howls a continuous gale over the large aluminium heatsinks inside.

I have previously operated this power supply at full load for days and it was still stone cold. Given the power supply has a thermal protection circuit, I decided it would be fine to replace the fan with something quieter.
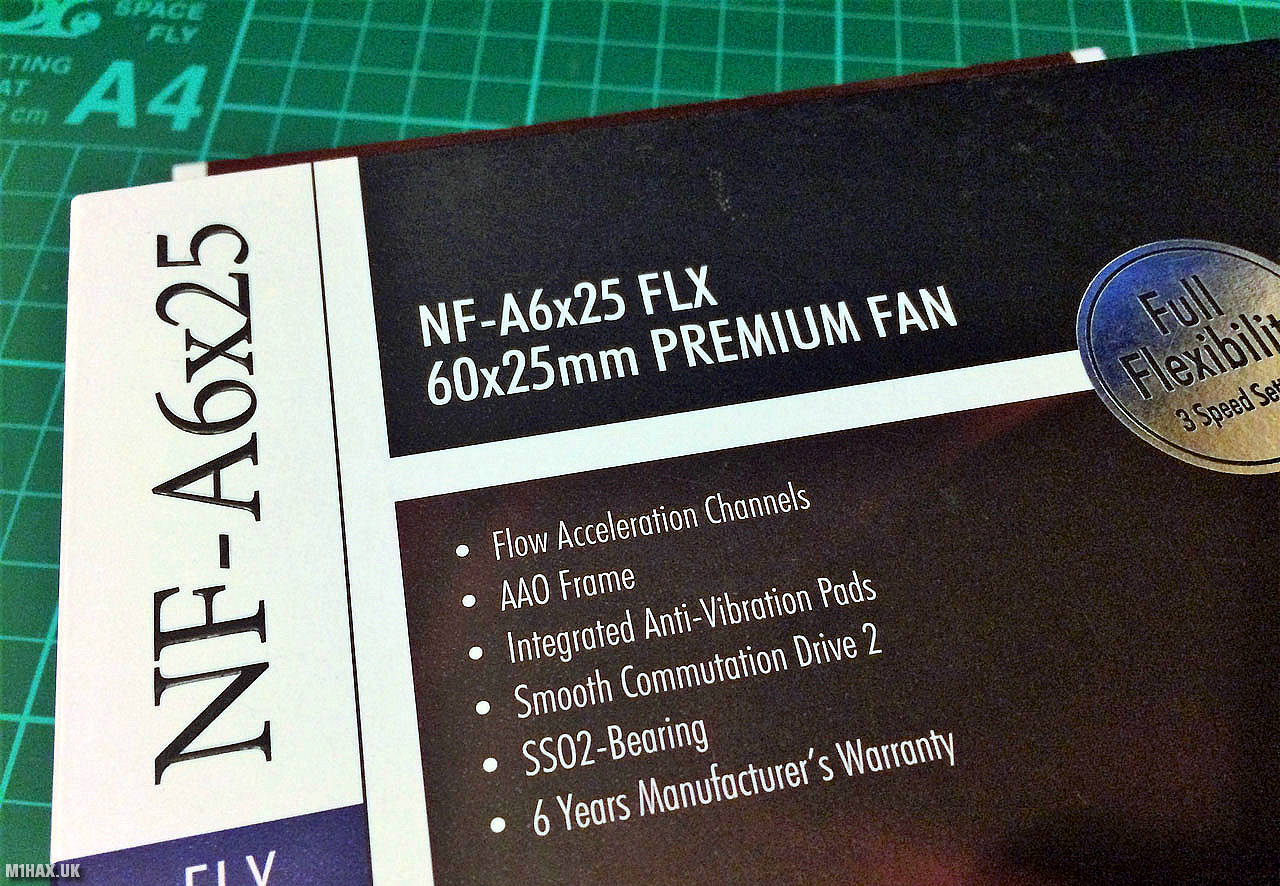
The original SUNON fan is a 60x25mm fan which moves 23 CFM at a noise level of ~33dBa. It conveniently happens to be the same size and voltage as a typical 60mm personal computer cooling fan. I usually like to use Noctua cooling fans for my computers, so picked out their NF-A6x25 FLX fan as a quieter replacement:

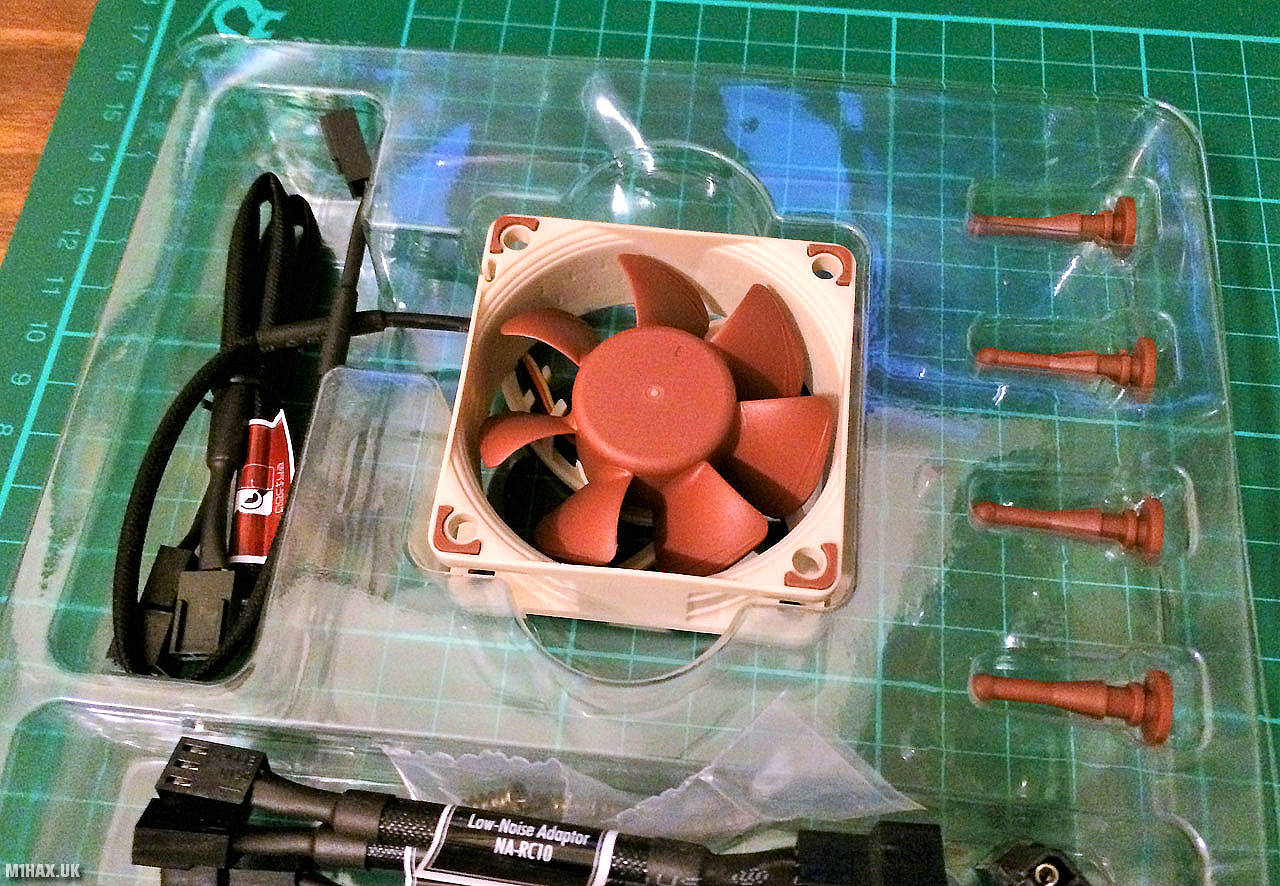
This fan moves 17 CFM of air which is a bit less than the original fan, but is much quieter with a noise output of ~19 dBa. The Noctua fan costs about three times as much as the original SUNON fan. I found the best place to pick up this particular model was from Amazon. It comes with various accessories, the most important being the noise-reducing silicone rubber mounting posts:

The original SUNON fan was easy to remove from the power supply. The plastic clips holding the fan to the chassis can be removed by pushing the centre pin inwards with a small screwdriver. The fan is soldered directly to the PSU’s circuit board so must be de-soldered, but the connections are easily accessible.

The 3-pin connector and heat-shrink from the Noctua fan cable were removed. The cable sheath was shortened to give some additional length to the red and black wires, while the yellow RPM sensor wire was trimmed back within the sheath. The heat-shrink on the cable was then replaced and the fan soldered to the PSU’s circuit board. I did consider adding an RF choke to the fan’s power cable but decided it was probably unnecessary. The fan was then mounted to the PSU’s chassis with the Noctua noise dampening mounting posts.

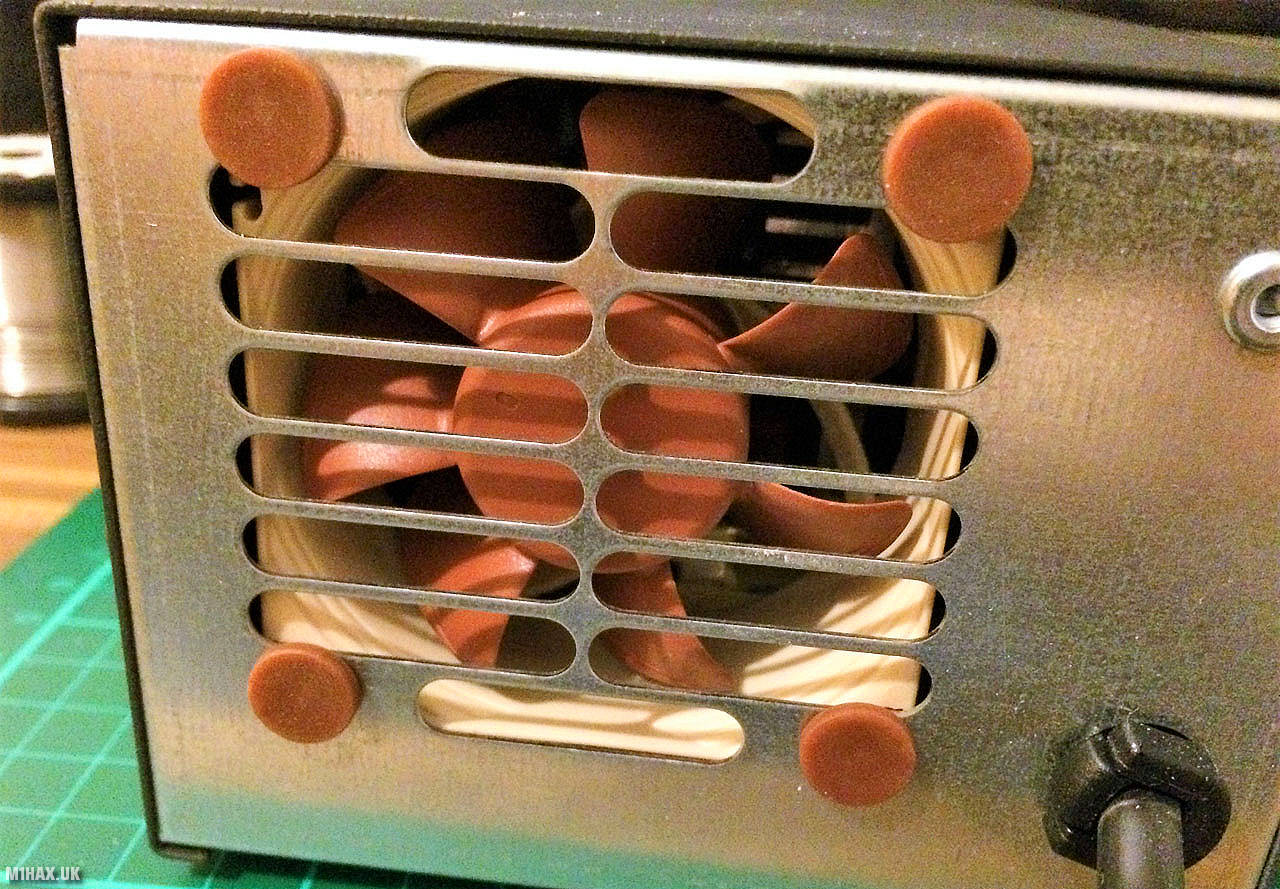
The Microset PTS124 was then reassembled. The fan is orientated so that it is blowing air inwards. Here is an external view of the Noctua AF-A6 fan inside the power supply:

Powering up the PSU everything was working properly, and much quieter. Before the power supply was by far the nosiest piece of equipment in the room, now it is barely audible. In fact, the fan is now so quiet the loudest emission from the unit is the very slight whine from the transformer coil.

Now back in service, the PSU is still going strong. Even under continued heavy load it remains cool and the difference in airflow in and out of the chassis is barely perceptible with the slower fan.
If you found this content valuable, why not Buy Me a Coffee?